11. Import clip
Importing a ClipGT file brings real-world run data into Foretify Manager. Once imported, you can evaluate the run's actors and trajectories, edit the scenario by modifying existing actors or adding synthetic ones, run a simulation, and export the results back to a ClipGT file.
You can import a single ClipGT file or a batch of ClipGT files.
11.1 Import a single ClipGT file
-
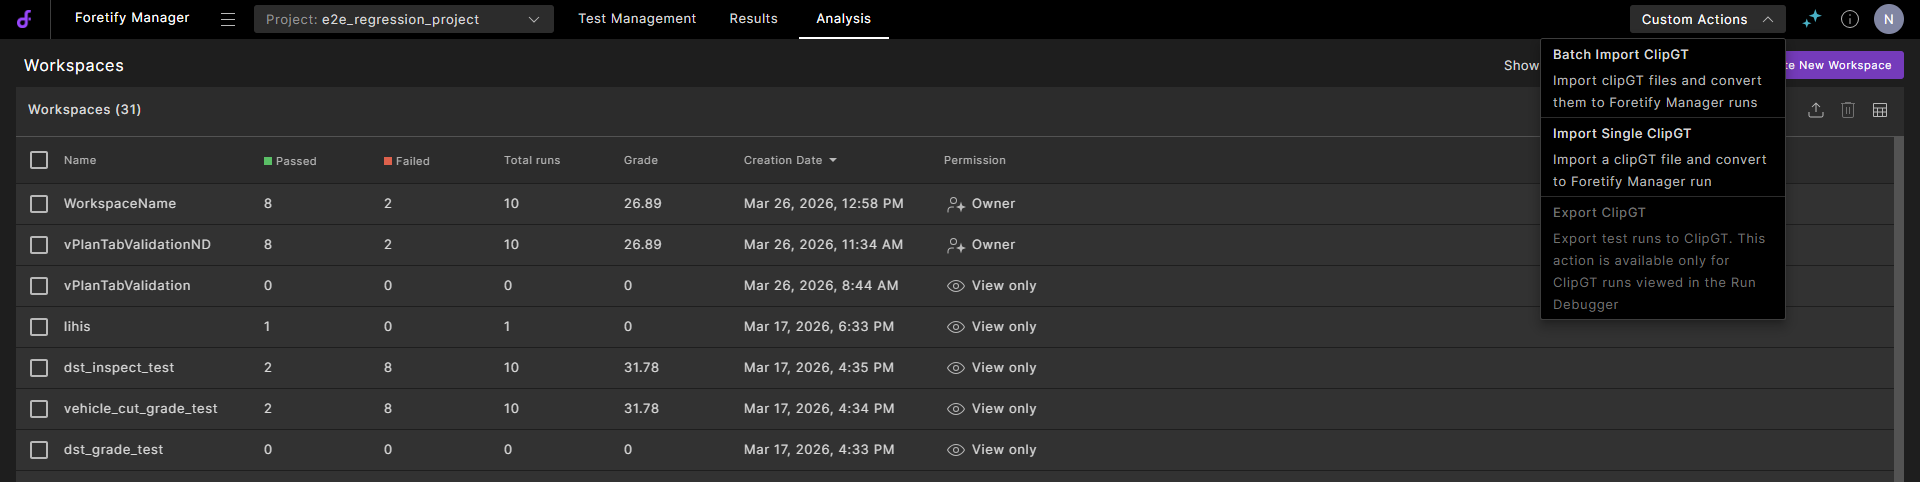
In Foretify Manager, select the target Project, click Custom Actions and select Import Single ClipGT.
-
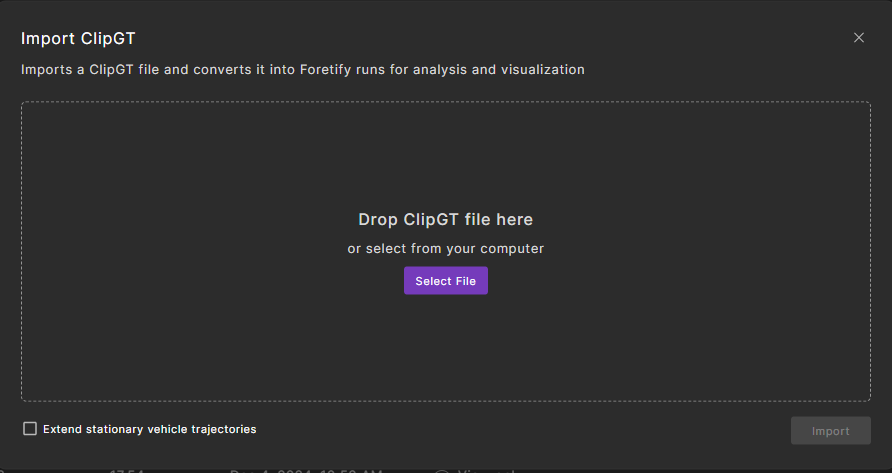
In the Import ClipGT dialog, do one of the following:
- Click Select File and select the ClipGT file.
-
Drag and drop the ClipGT file.
-
Click Import.
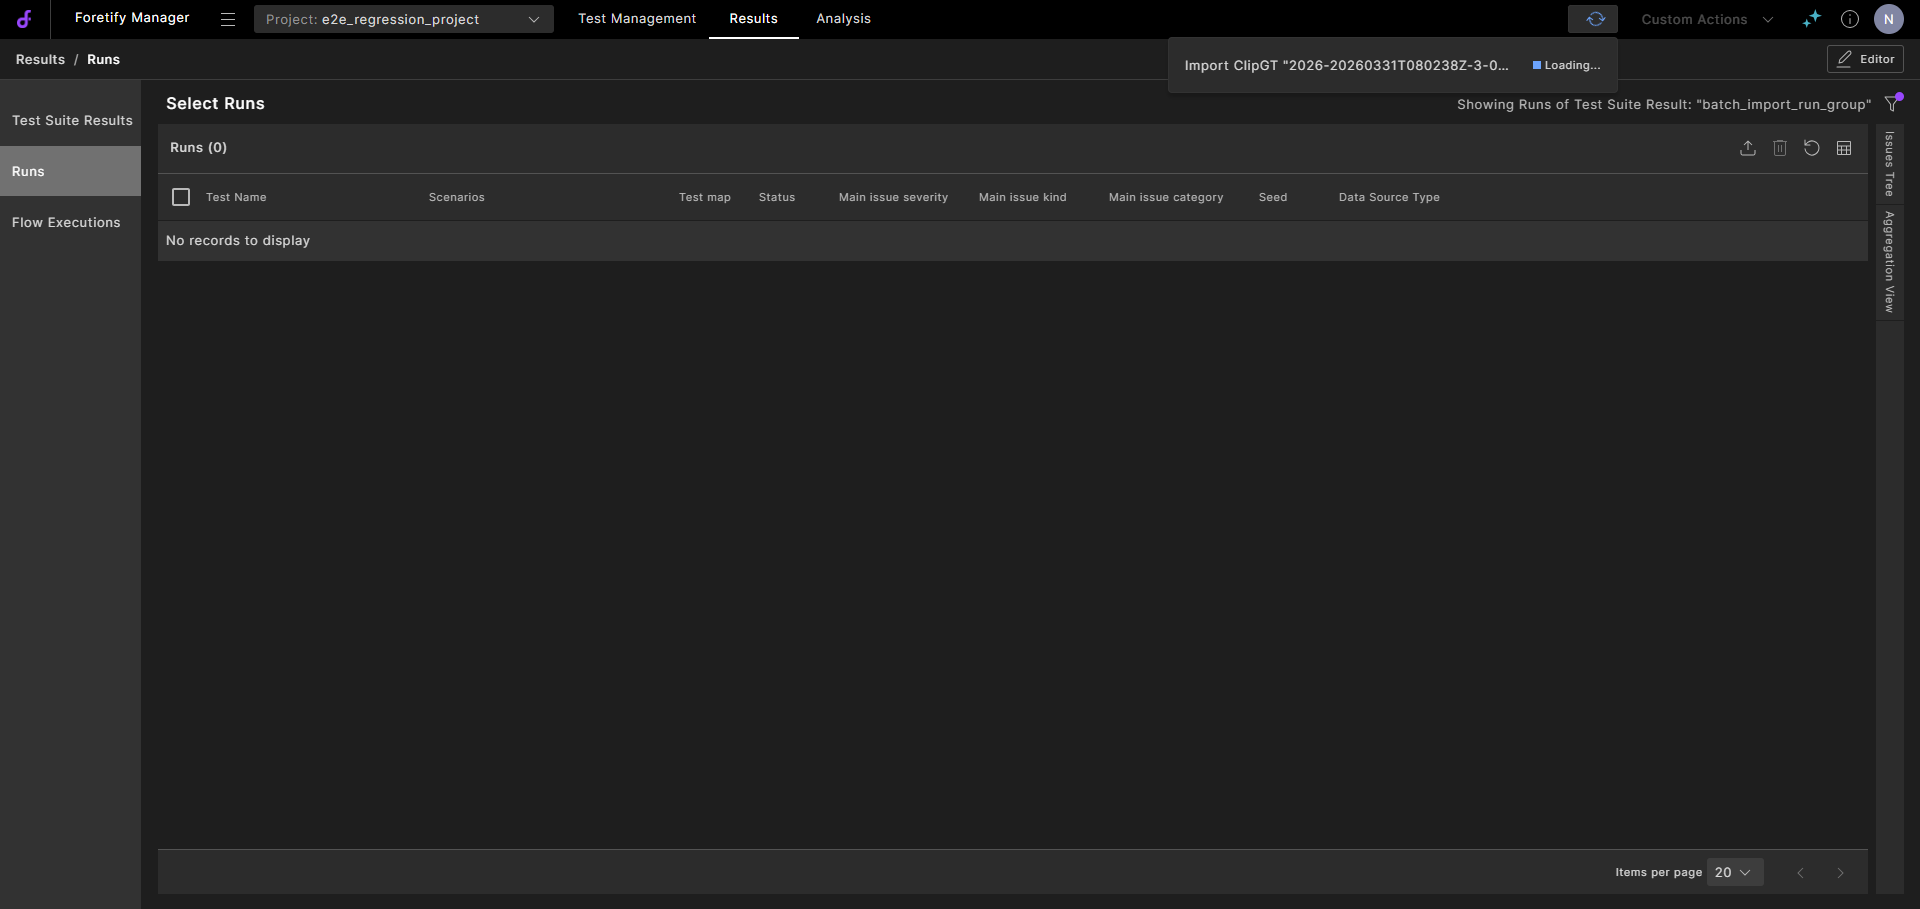
The import process begins, and the status displays.
-
When completed, click Open Results.
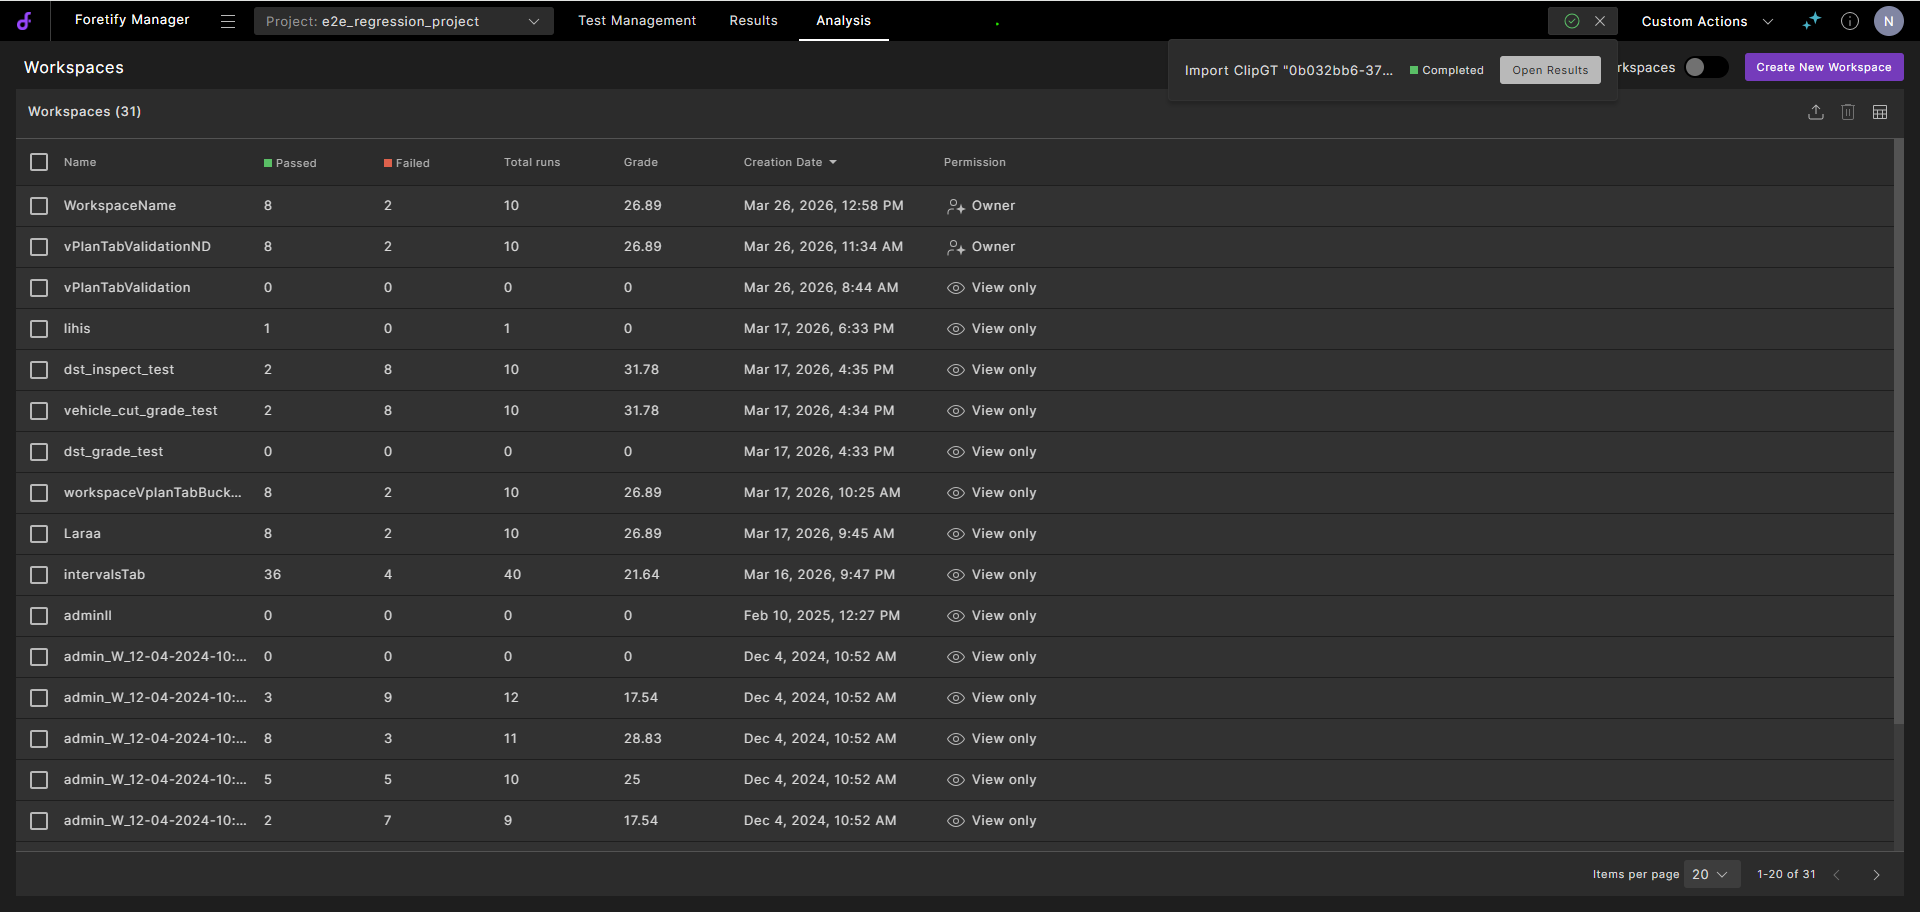
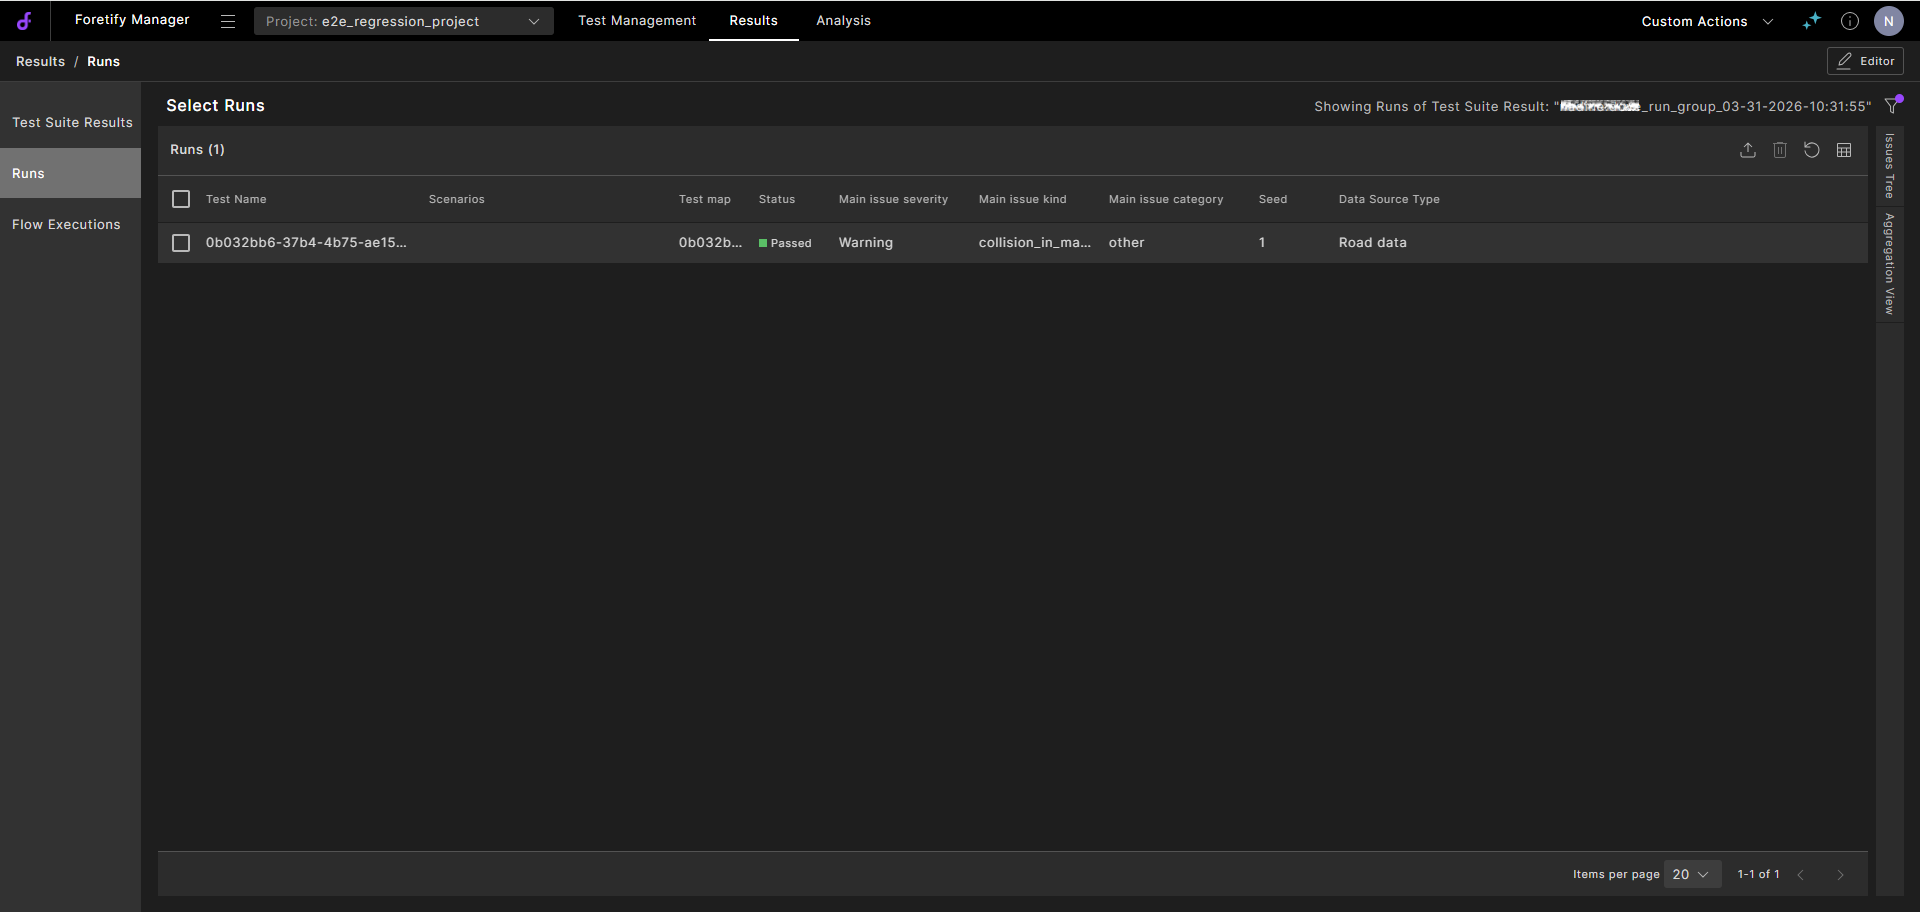
The run is displayed.
-
Select the run to view and proceed to Evaluate the clips.
11.2 Import a batch of ClipGT files
-
In Foretify Manager, select the target Project, click Custom Actions and select Batch Import ClipGT.
-
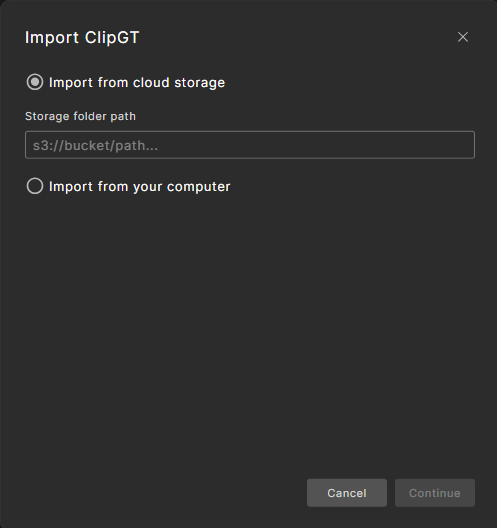
The Import ClipGT dialog opens.
-
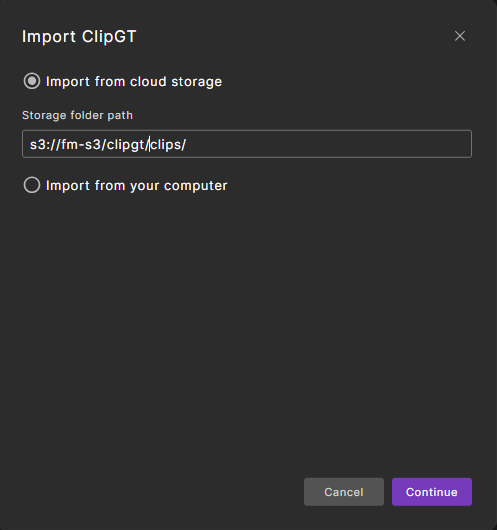
To Import from cloud storage, enter the Storage folder path and click Continue.
-
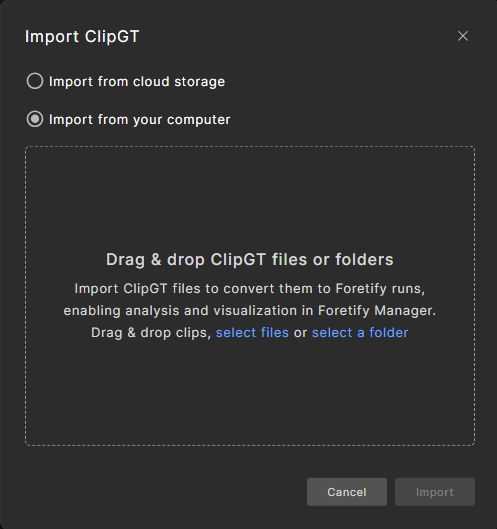
To select a batch of ClipGT files from your local computer, select Import from your computer and select the files using one of the following options:
- Click select file and select the ClipGT files.
- Click select a folder that contains the ClipGT clips.
-
Drag and drop the ClipGT files.
-
-
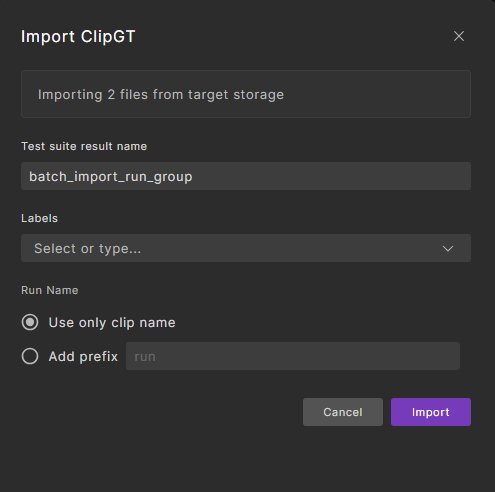
In the detailed Import ClipGT dialog:
-
Edit or enter a Test suite result name.
-
Select or create a Label.
-
By default, Use only clip name is selected. To add a prefix, select Add prefix and enter a meaningful prefix to identify the batch.
-
-
Click Import.
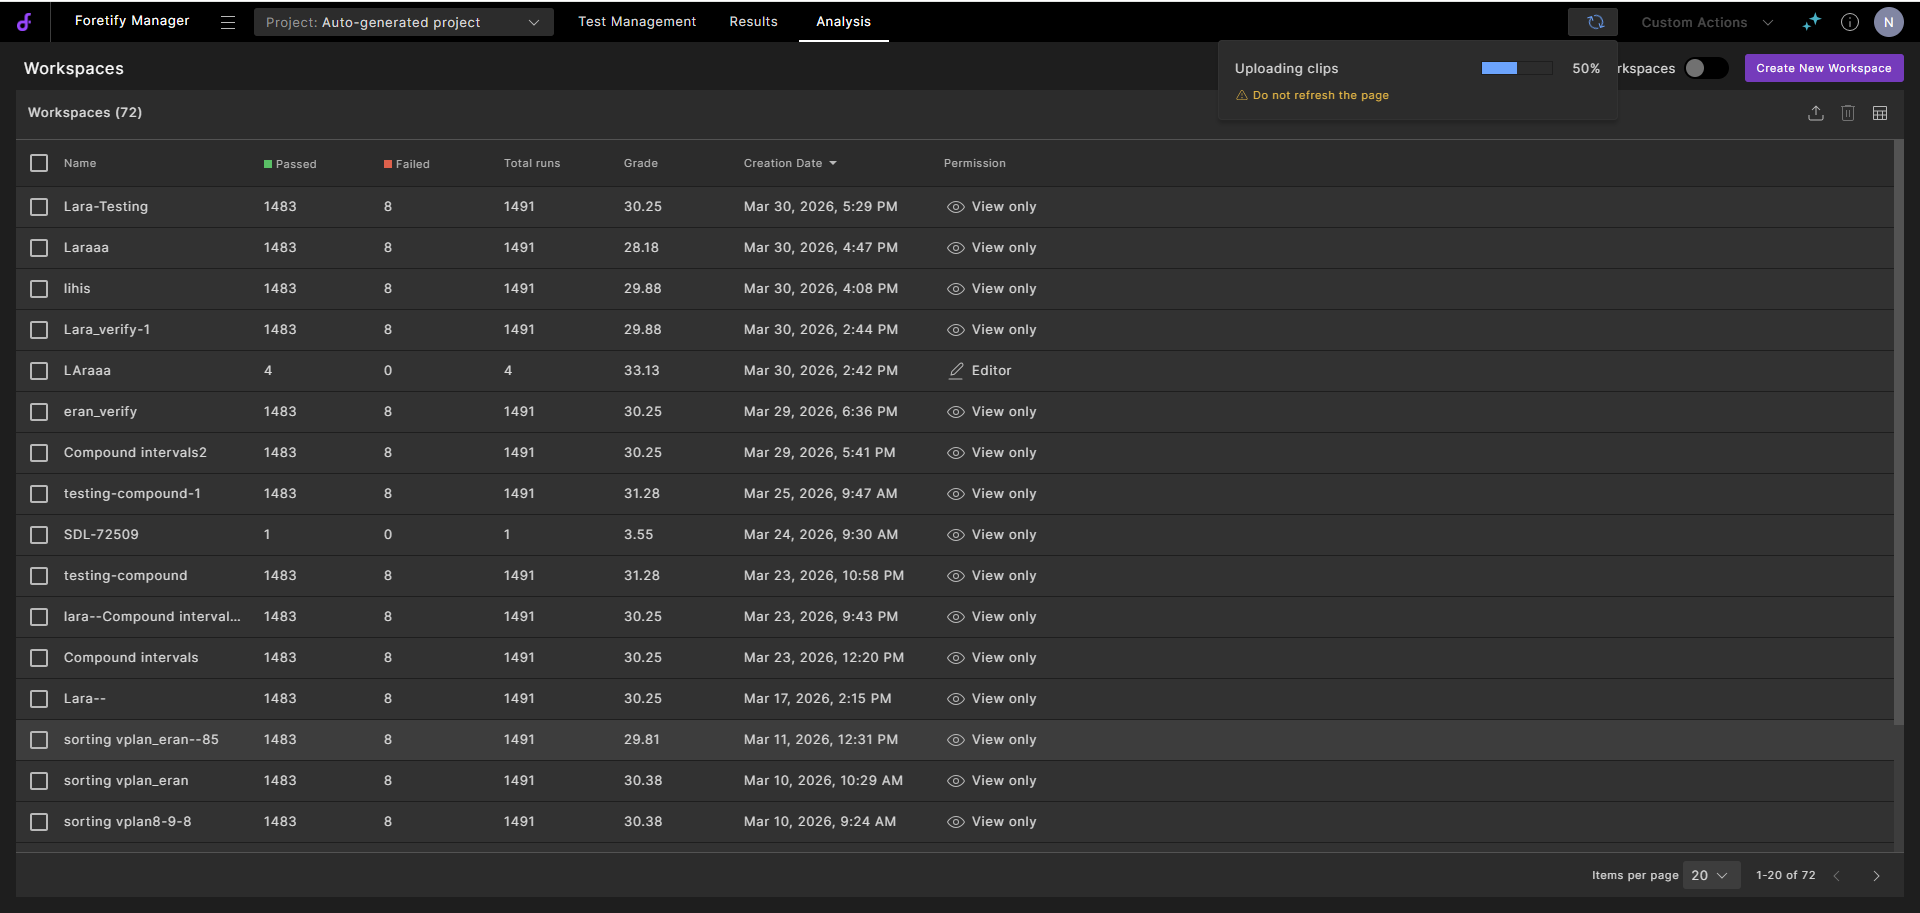
Foretify Manager uploads the files and displays the progress.
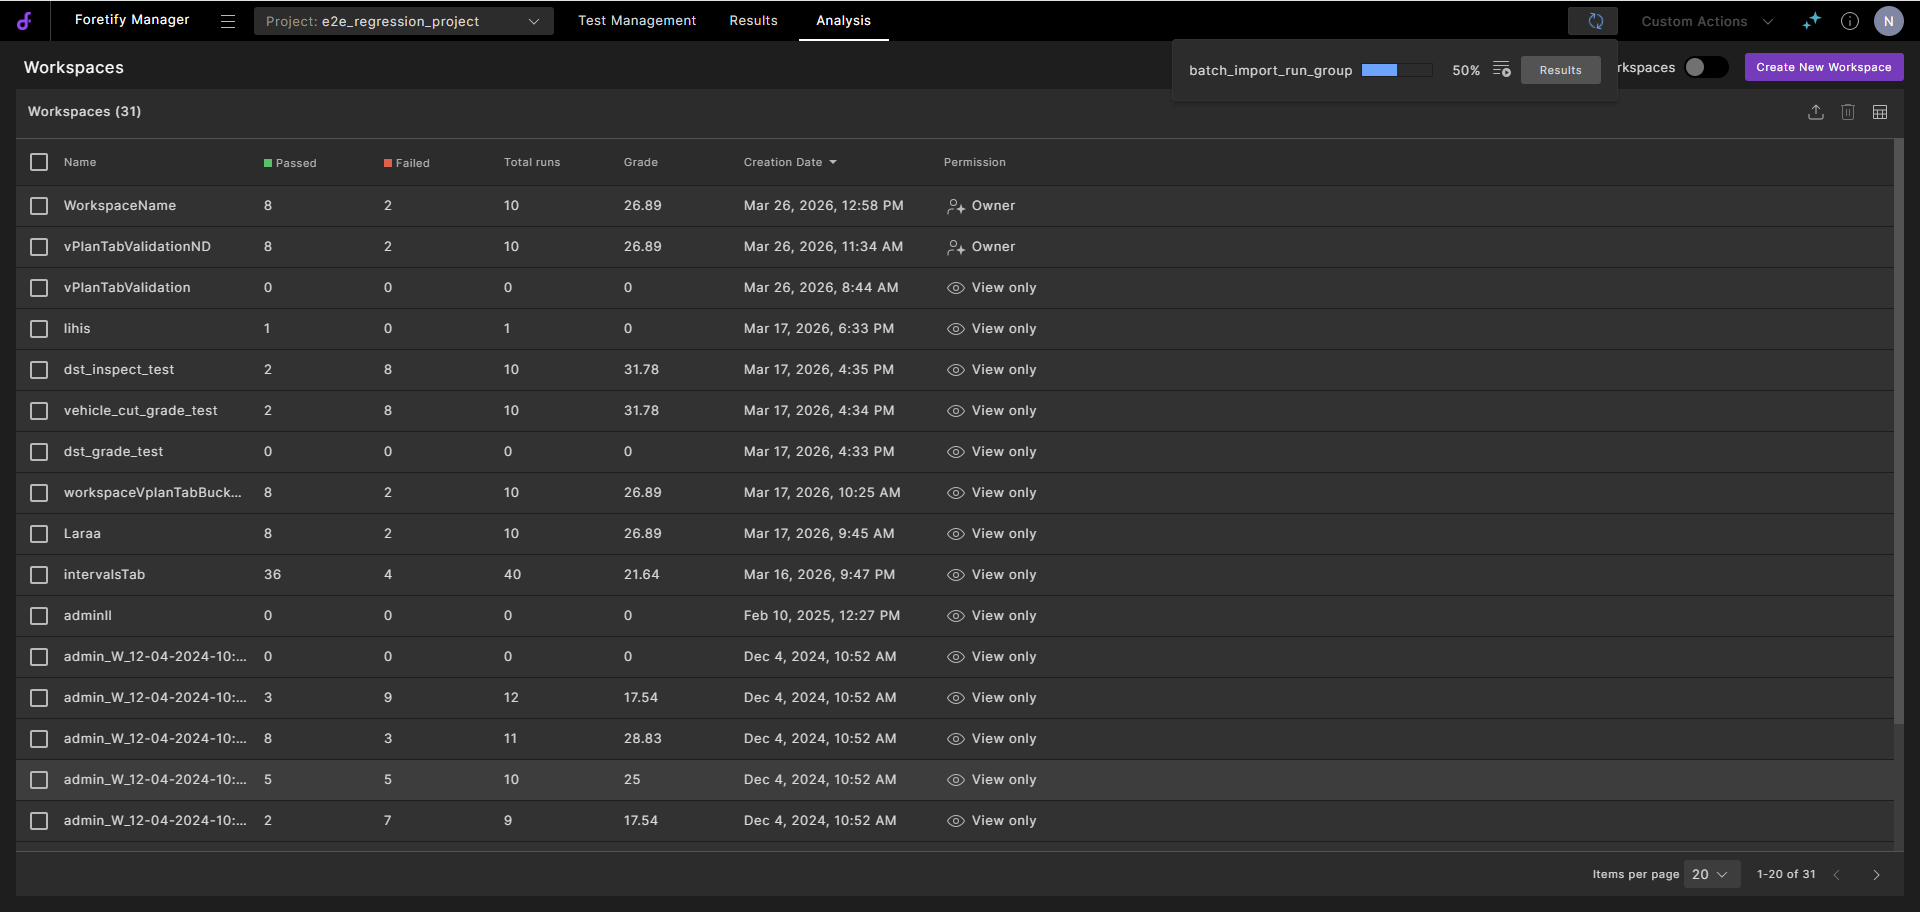
Foretify Manager converts the ClipGT files to a Foretellix Object List, applies denoise, and ingests the result. The processing progress is displayed.
-
When the processing completes, do one of the following:
-
Click the Go to Flow Executions icon:
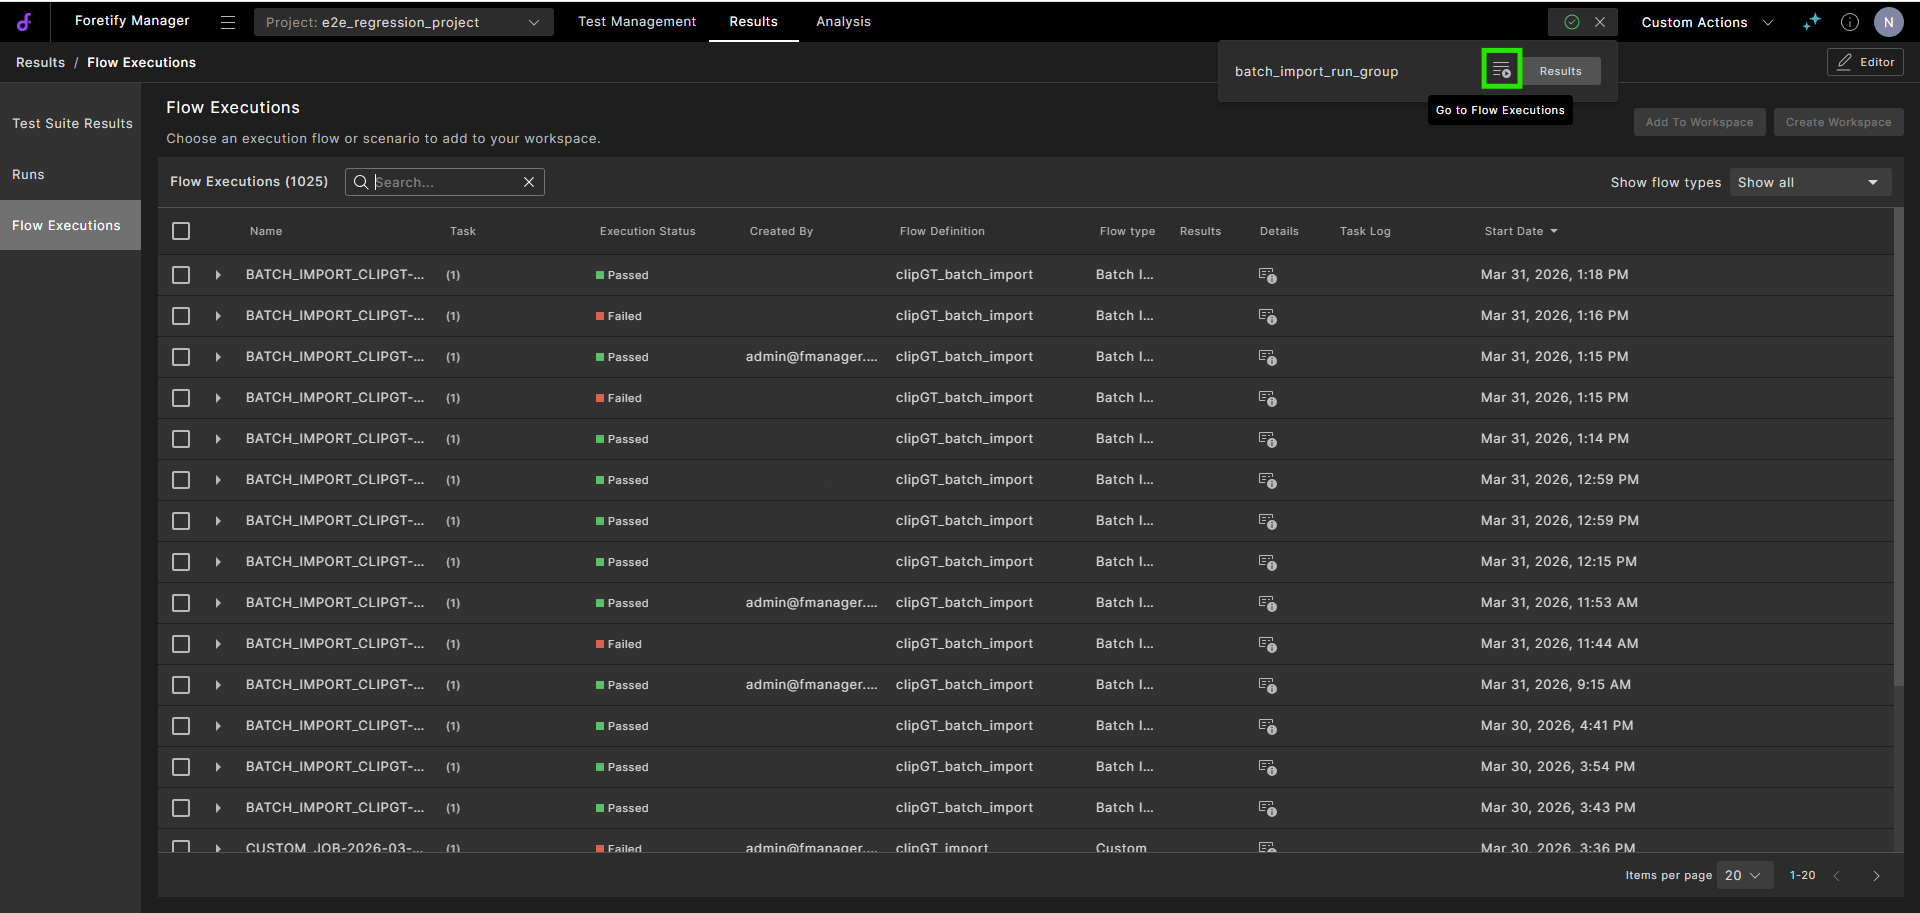
For each Flow Execution, the following actions are available:
-
Click the Details
 icon of a run.
The flow definition details are displayed:
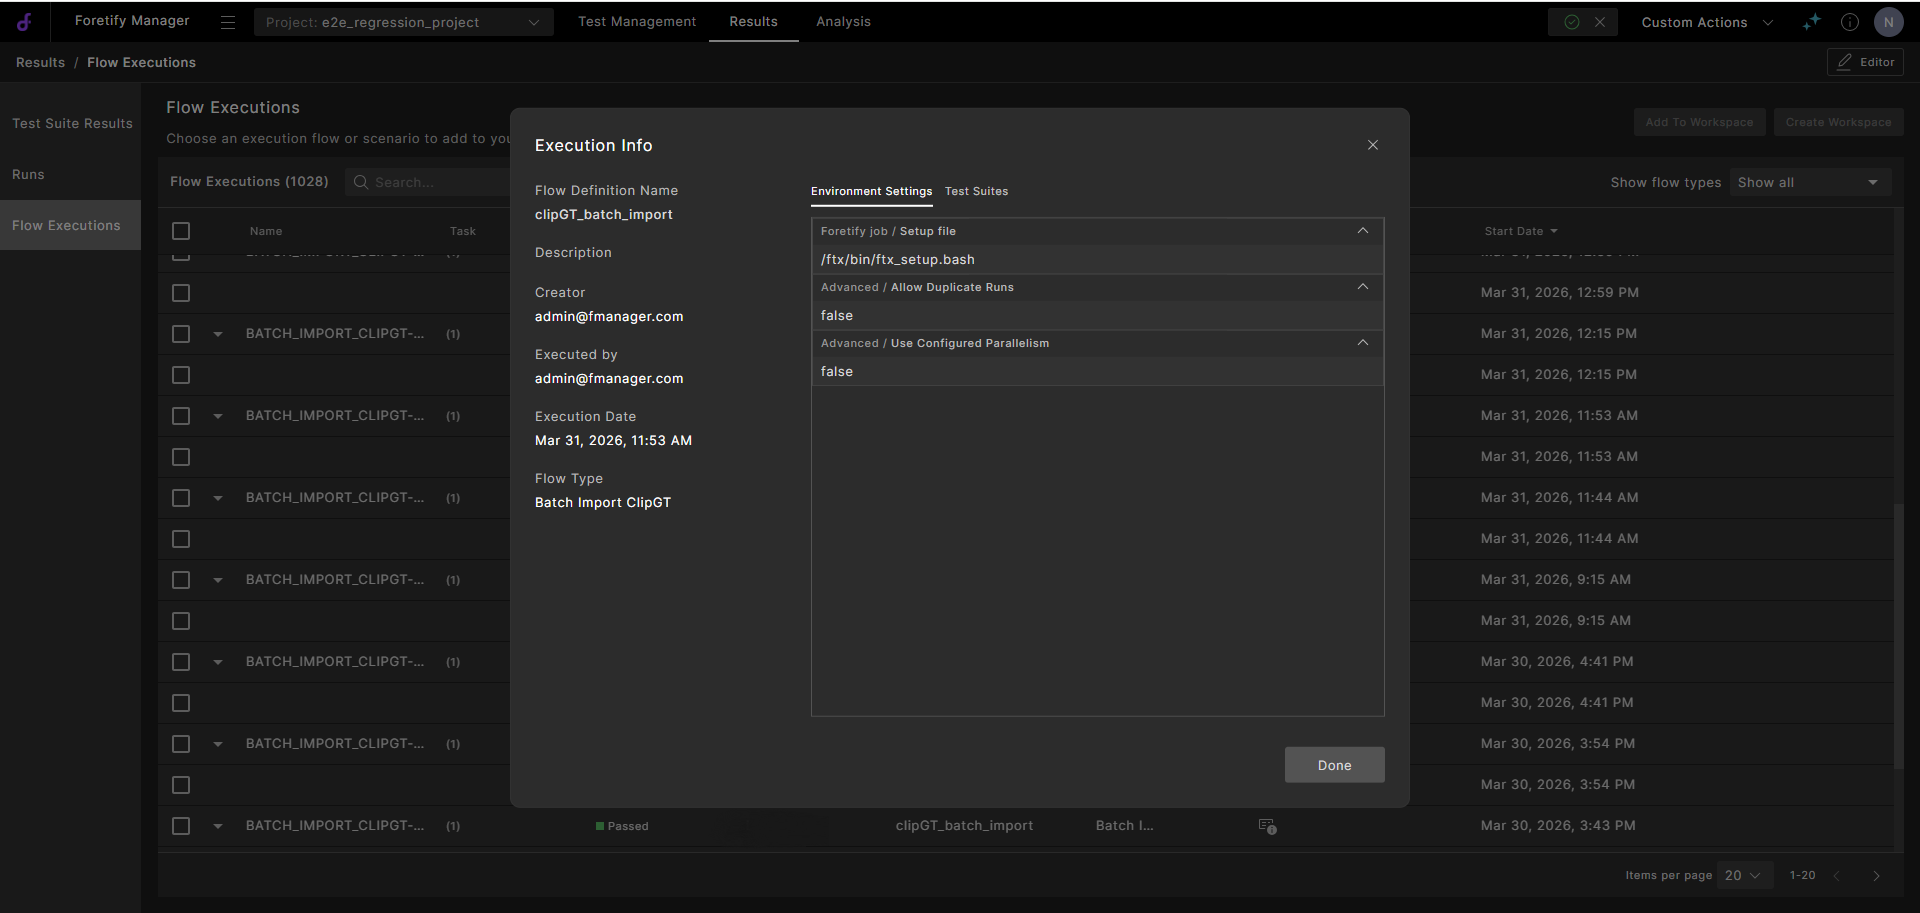
-
Click the Open task log
 icon.
icon.The task log opens in another tab:
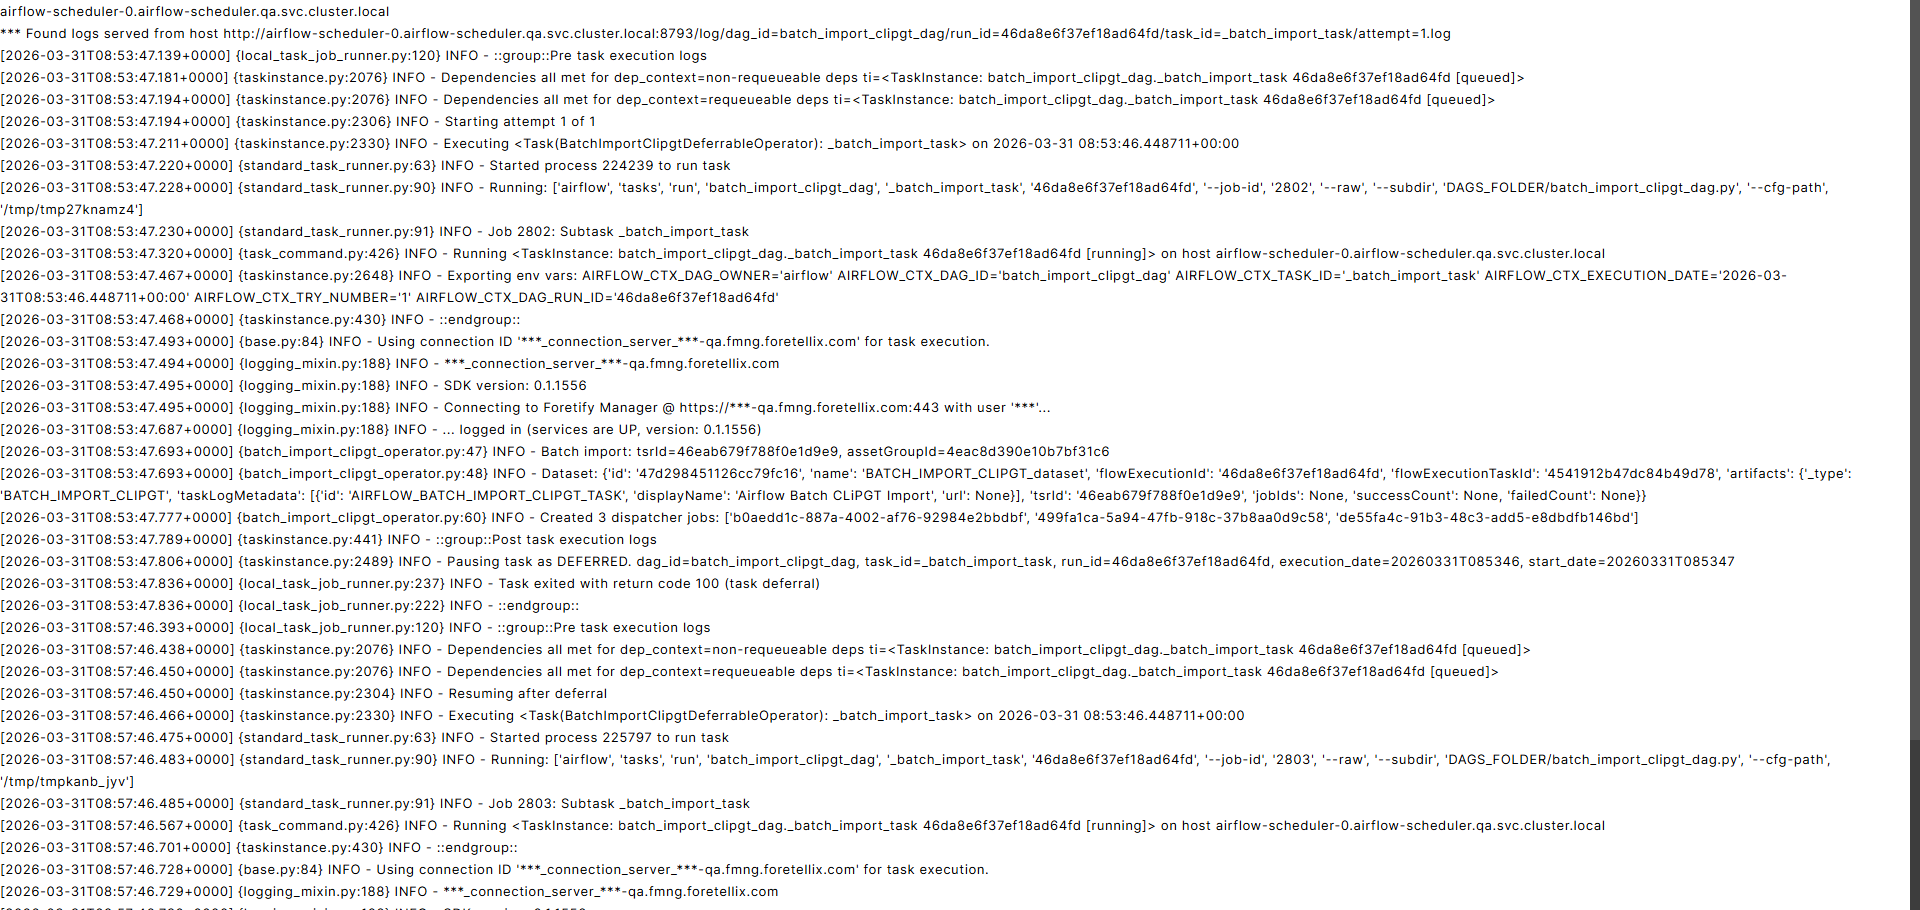
-
Click the Download task log
 icon to save the task log locally.
 -
Under the Results column, the name of the relevant test suite result is displayed. Click it to navigate to the corresponding runs filtered by that test suite result.
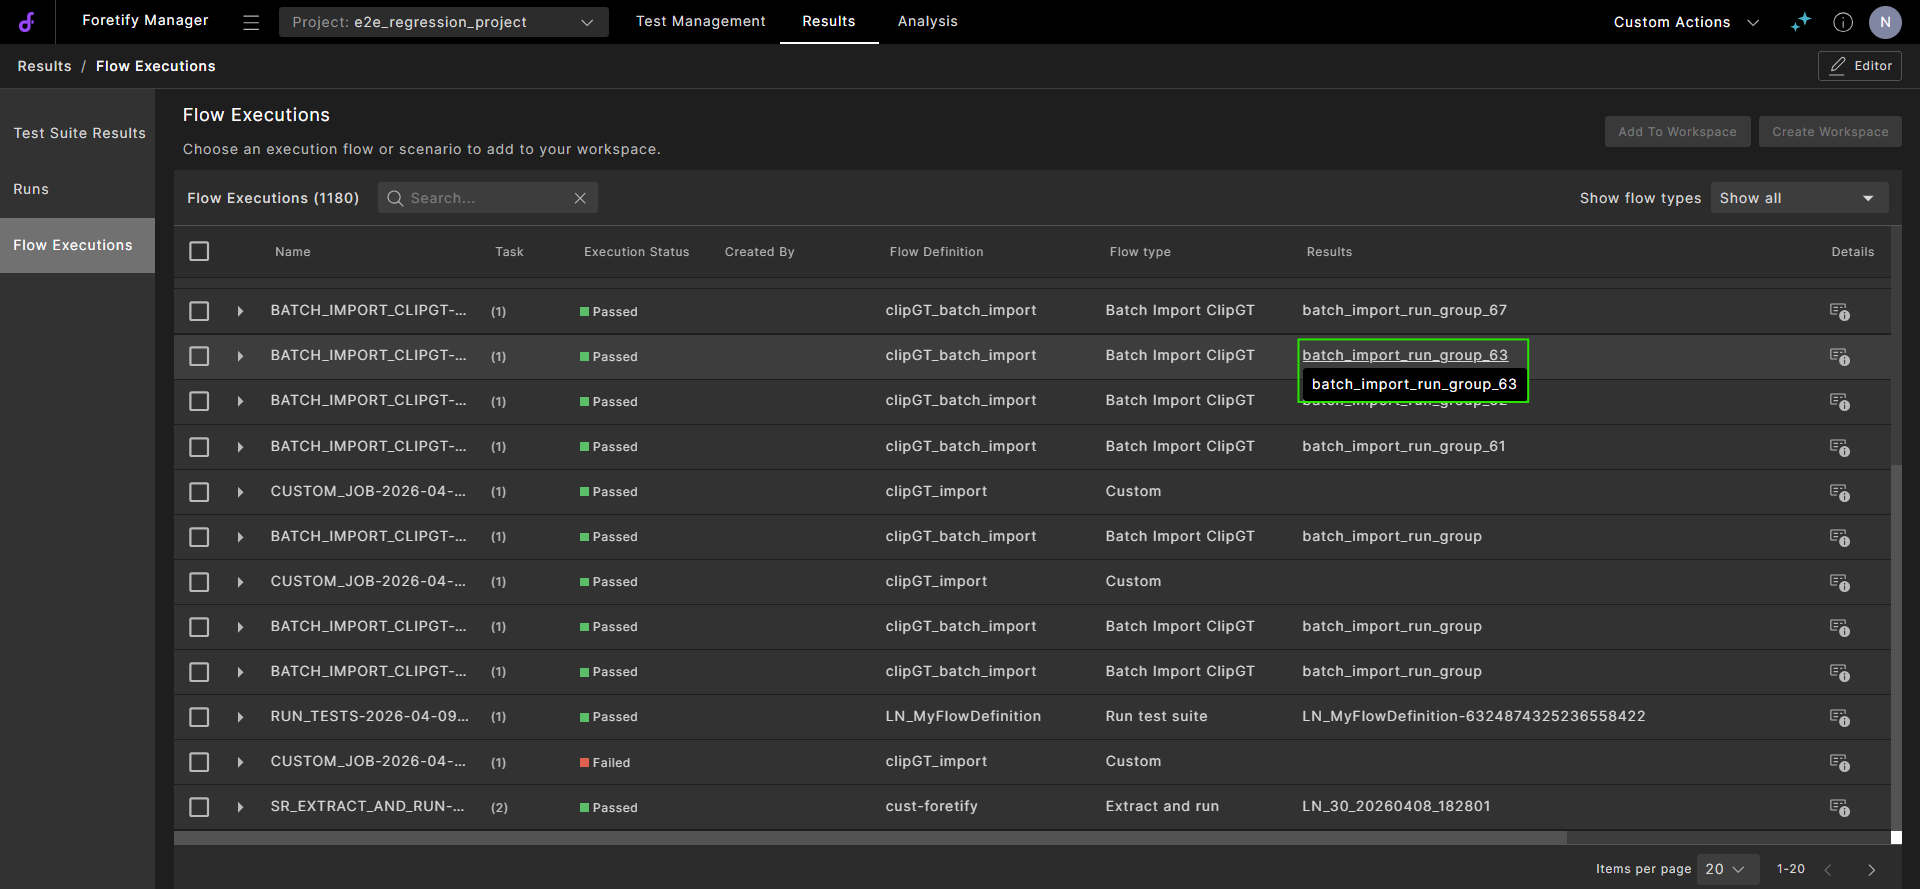
-
-
Click the Results icon to view the imported runs:
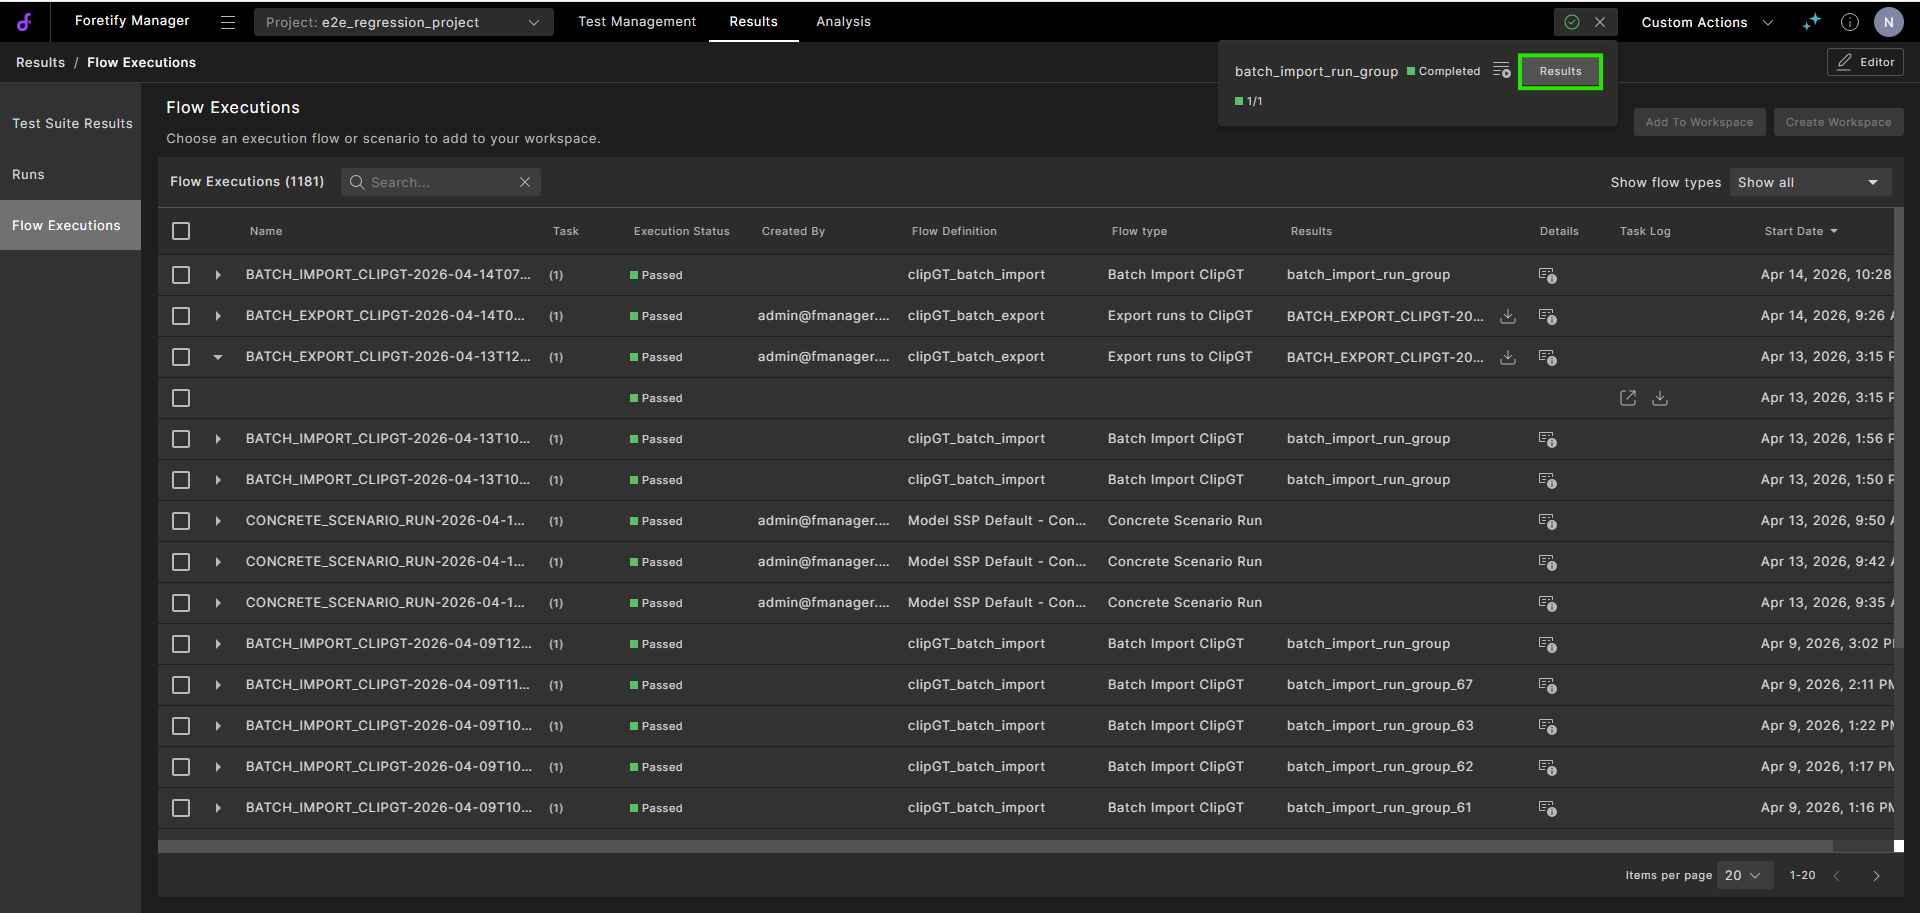
The runs are displayed in a list:
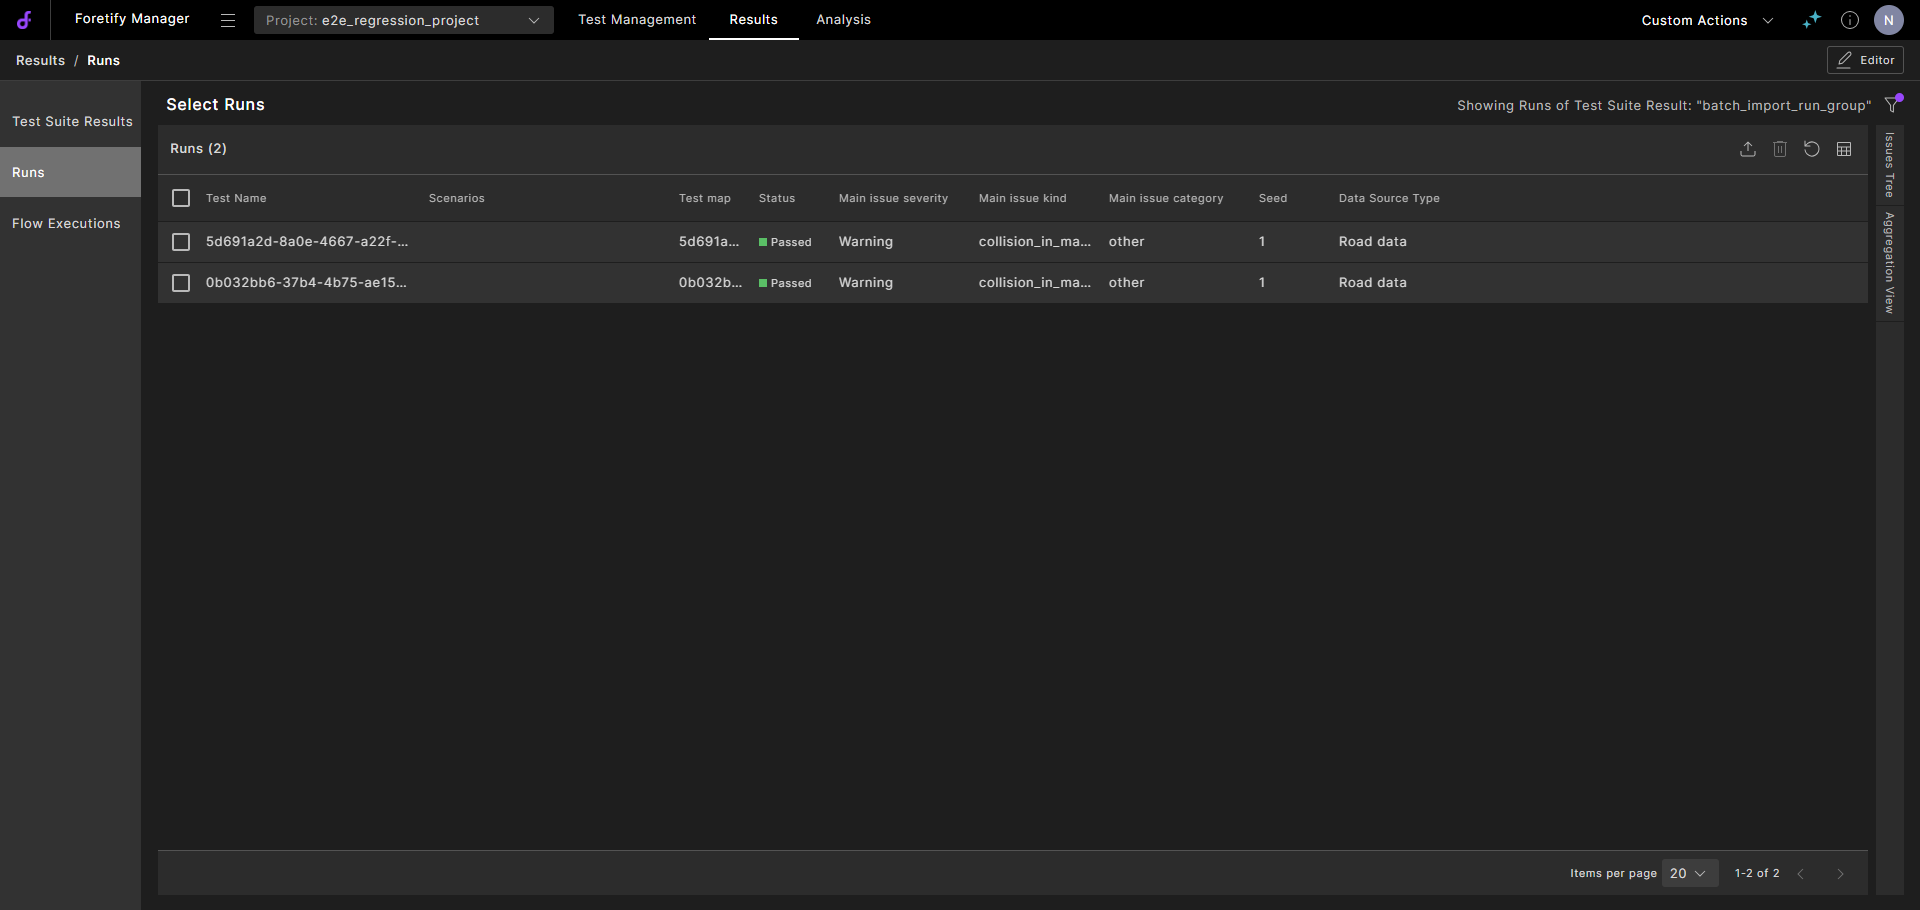
Click a run to view it in the Visualizer.
-
To trigger batch import programmatically, see Batch import ClipGT files from S3 using the Python SDK.
To evaluate the imported runs, proceed to Evaluate the clips.
11.3 Imported scenario alignment tags
When a clip is imported, the scenario ID includes an NVIDIA tag representing the complexity level of driving behavior.
In VPlans, you can filter the scenarios by these tags to:
- Filter runs by behavior complexity
- Measure coverage at each complexity level
- Focus debugging on specific maneuver types, such as L2 merges and overtakes
The complexity levels of tags are categorized as follows.
-
L0
- Base driving behaviors and simple navigation.
- Simple, fundamental driving in a single lane, with no complex maneuvers or interactions.
- Examples include
drive_in_lane,drive_in_lane_keep_long,nav_intersection.
-
L1
- Local interactions and adjustments within a lane or between adjacent lanes.
- Maneuvers where the Ego slightly changes its lateral position or briefly interacts with an adjacent lane, but without a full lane change decision like an overtake.
- Examples include
nudge_in_laneandnudge_out_lane_adj.
-
L2
- Higher-level maneuvers and multi-step behaviors (often involving multiple lanes or actors).
- More complex, multi-step decisions involving lane changes and interaction with other traffic.
- Examples include
drive_in_lane_mergeandchange_lane_to_overtake.